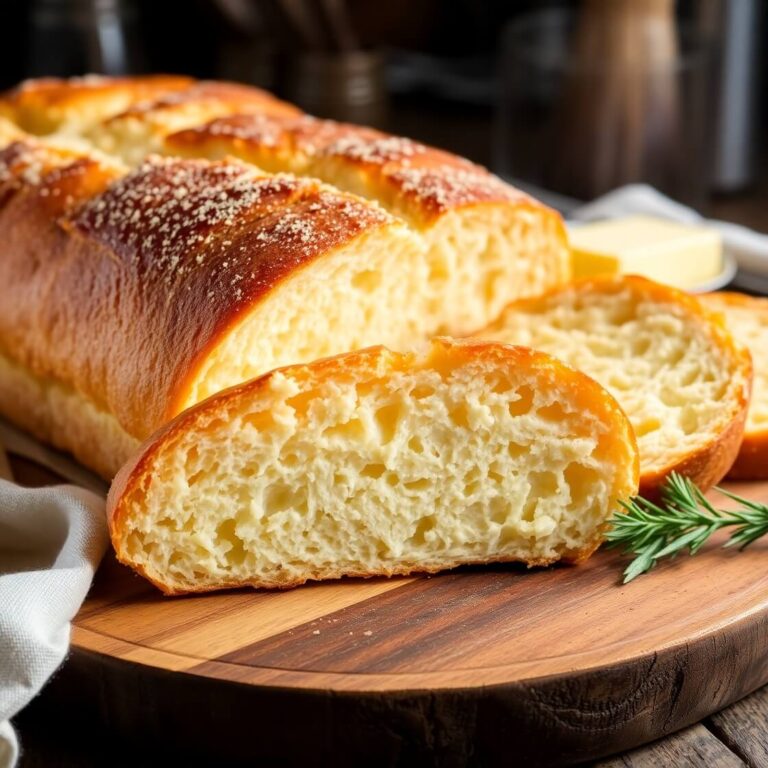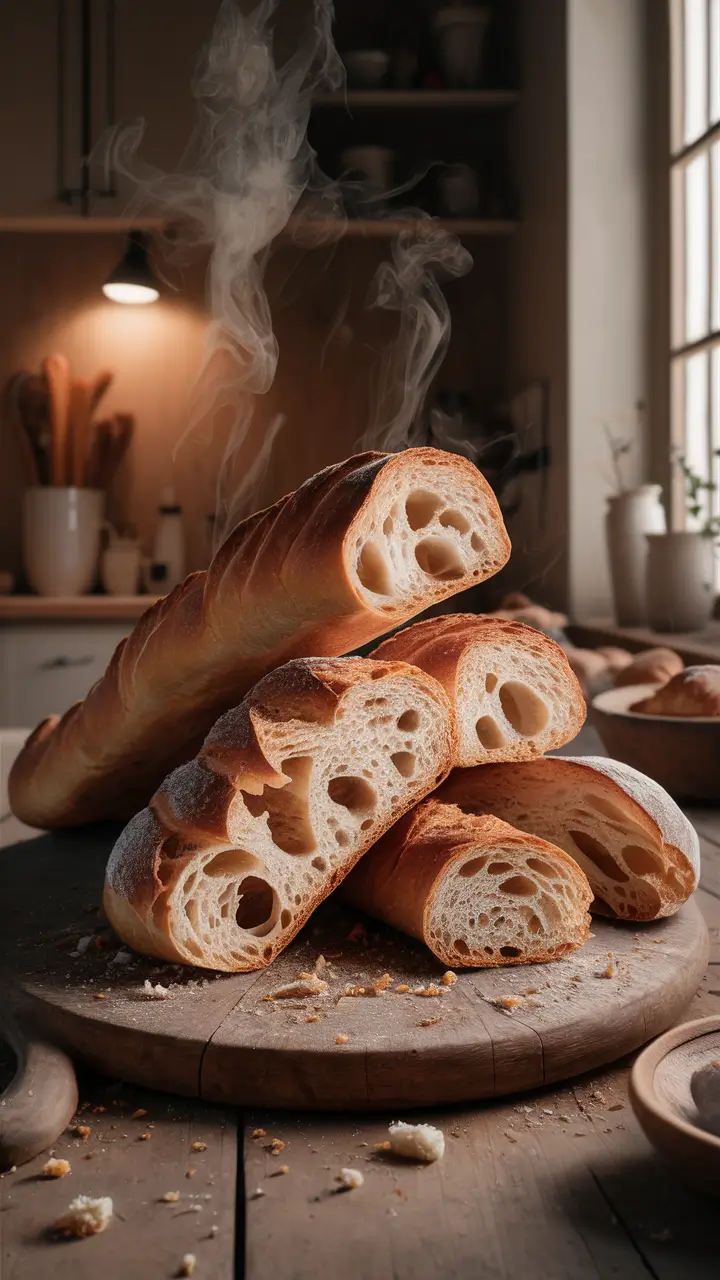
There’s something undeniably comforting about the aroma of fresh bread baking in the oven. That golden, crispy crust, paired with a soft and chewy interior, makes French bread a timeless classic. I first started making French bread during a quiet winter weekend. I craved something rustic, warm, and nourishing—but also something that would challenge my baking skills. This recipe quickly became one of my go-to favorites, not just for the result, but for the therapeutic process it offered.
If you’ve ever wanted to make bakery-style French bread at home, this guide will walk you through every step in an approachable and enjoyable way. Keep reading—by the end, you’ll be confident enough to make a stunning loaf that rivals your favorite boulangerie.
Why I Love This Recipe?

There’s a unique satisfaction that comes from making your own bread. And when it comes to French bread, that satisfaction is tenfold.
What makes this recipe special isn’t just the taste—it’s the entire experience. French bread, or pain français, is known for its crusty exterior and fluffy, airy interior. It’s not overly complicated, yet each phase of the baking process—from mixing to proofing to baking—offers a chance to connect deeply with your ingredients.
I love this recipe because it’s dependable. Whether you’re new to bread making or have been baking for years, it delivers consistent results. It’s a recipe that respects tradition but is also forgiving enough to suit a busy home kitchen. And best of all, it transforms basic pantry staples into something extraordinary.
If you’ve ever been intimidated by bread-making, this is your chance to learn it the simple way—with no need for fancy equipment or obscure ingredients.
Ingredients for French Bread
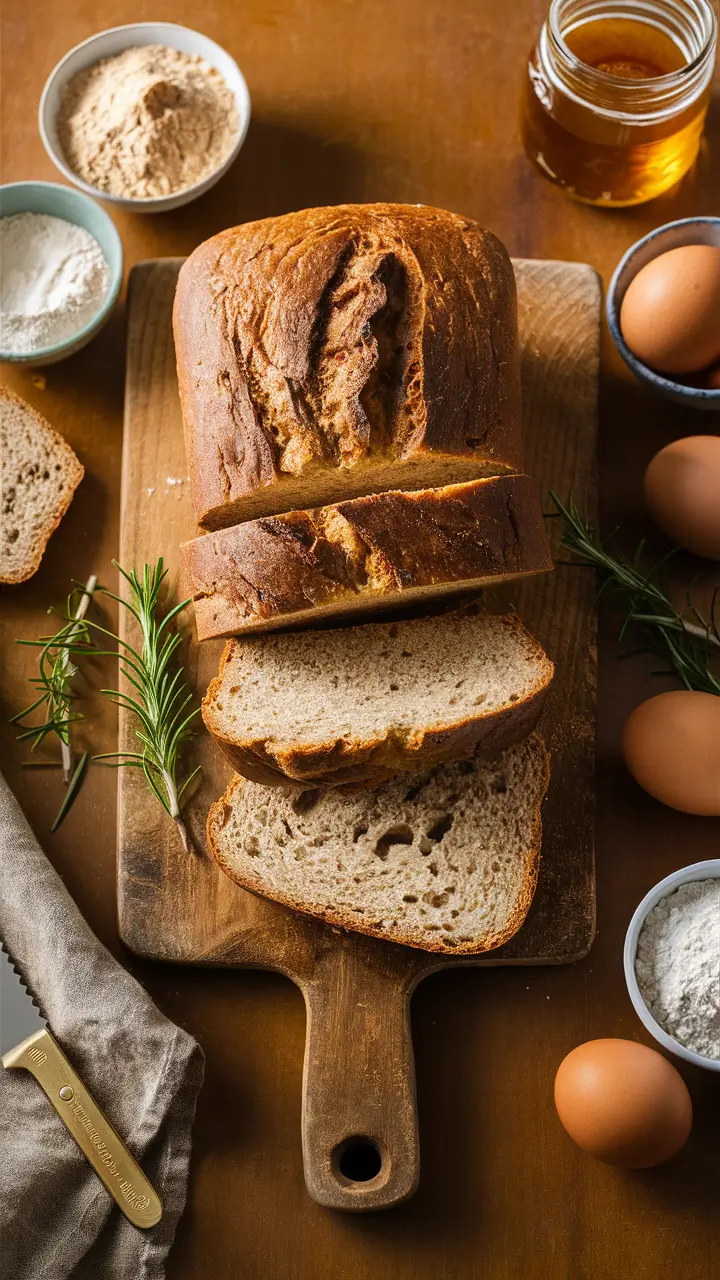
Great bread starts with simple, quality ingredients—and French bread is the perfect example of that. Don’t be fooled by the simplicity; when treated right, these ingredients can produce a loaf that’s truly unforgettable.
You’ll only need a handful of basic ingredients:
- All-purpose flour – This gives the bread its structure. Choose a good quality flour for best results.
- Warm water – Not too hot, not too cold. Ideally around 110°F (43°C). This activates the yeast.
- Active dry yeast – Helps the bread rise and develop that airy crumb.
- Sugar – Just a small amount to feed the yeast and boost fermentation.
- Salt – Essential for flavor and to control yeast activity.
- Olive oil (optional) – For a slightly richer flavor and softer crumb, though traditional French bread is often made without it.
No need to overcomplicate things—these core ingredients are all you need to build something truly remarkable. Just be sure to measure carefully and follow the timing closely.
How Much Time Will You Need?
Making French bread isn’t necessarily quick, but it’s worth every moment. The entire process takes around 3 to 4 hours, depending on your environment and how long you let the dough rise. Here’s a rough time breakdown:
- Prep Time: 20 minutes
- First Rise: 1.5 to 2 hours
- Second Rise (Proofing): 30 to 40 minutes
- Bake Time: 25 to 30 minutes
While it does take a few hours, most of that time is passive—waiting for the dough to rise. You can easily fit it into a lazy afternoon or weekend.
How to Make This French Bread
Here’s your detailed, step-by-step guide to making French bread from scratch. Don’t worry if this is your first time—just take it one step at a time.
Step – 1: Activate the Yeast
In a large bowl, combine 2 ¼ teaspoons of active dry yeast, 1 tablespoon of sugar, and ½ cup of warm water (around 110°F). Stir it gently and let it sit for 5-10 minutes until it becomes frothy.
This is how you’ll know the yeast is alive and ready to work. If there’s no froth, your yeast might be expired or the water might have been too hot or too cold.
Step – 2: Mix the Dough
Add 2 cups of all-purpose flour to the yeast mixture along with another 1 cup of warm water and 1½ teaspoons of salt. Mix until a sticky dough forms.
Gradually add in 1½ to 2 more cups of flour, a little at a time, stirring until the dough begins to pull away from the sides of the bowl.
You can also use a stand mixer with a dough hook, but working it by hand gives you a better feel for the texture.
Step – 3: Knead the Dough
Transfer the dough onto a floured surface. Knead it for 8-10 minutes until it becomes smooth and elastic.
You want a dough that springs back when pressed. If it feels too sticky, dust with a little more flour—but don’t overdo it.
Step – 4: First Rise
Place the kneaded dough in a lightly oiled bowl. Cover with a damp towel or plastic wrap and let it rise in a warm place for 1.5 to 2 hours, or until it has doubled in size.
This step is crucial for developing the bread’s structure and flavor.
Step – 5: Shape the Loaves
Once the dough has risen, punch it down to release the air. Divide it into two equal parts.
Shape each piece into a log (or baguette-style loaf) and place on a parchment-lined baking sheet. You can also use a French bread pan if you have one.
Let them rest for 5 minutes before making 3-4 shallow diagonal slashes across the top with a sharp knife. This helps the bread expand while baking.
Step – 6: Second Rise (Proofing)
Cover the loaves loosely and let them rise again for 30 to 40 minutes until nearly doubled in size.
Meanwhile, preheat your oven to 425°F (220°C).
Step – 7: Bake the Bread
Before placing the bread in the oven, place a shallow pan of water on the bottom rack to create steam. This gives the crust its signature crispness.
Bake for 25 to 30 minutes, or until the loaves are golden brown and sound hollow when tapped.
Let cool on a wire rack before slicing.
Substitutions
Sometimes you don’t have everything on hand—or you might want to switch things up. Here’s how to keep your French bread delicious no matter what:
- Flour Substitute: You can use bread flour for a chewier texture and stronger gluten structure.
- Yeast Alternative: If you only have instant yeast, reduce the quantity to 2 teaspoons and skip the activation step—just mix it straight in with the dry ingredients.
- Gluten-Free Option: Swap in a gluten-free flour blend specifically formulated for bread. Add a binding agent like xanthan gum to help with structure.
- Flavor Enhancers: Add garlic powder, herbs, or shredded cheese to the dough for a more complex flavor.
The beauty of this recipe is its flexibility. You can make it your own while staying true to the traditional form.
Best Side Dish of French Bread
French bread pairs beautifully with a wide range of dishes. Whether you’re serving it as a starter or a side, these options will enhance your meal:
- Tomato Basil Soup – A classic companion that complements the crispy crust and soft interior.
- Garlic Herb Butter Shrimp – Use the bread to soak up the savory, buttery sauce.
- Baked Brie with Honey and Walnuts – A rich, indulgent appetizer that turns your bread into a gourmet bite.
Each pairing brings out a different side of French bread’s character—whether comforting, elegant, or rustic.
Serving and Presentation Tips
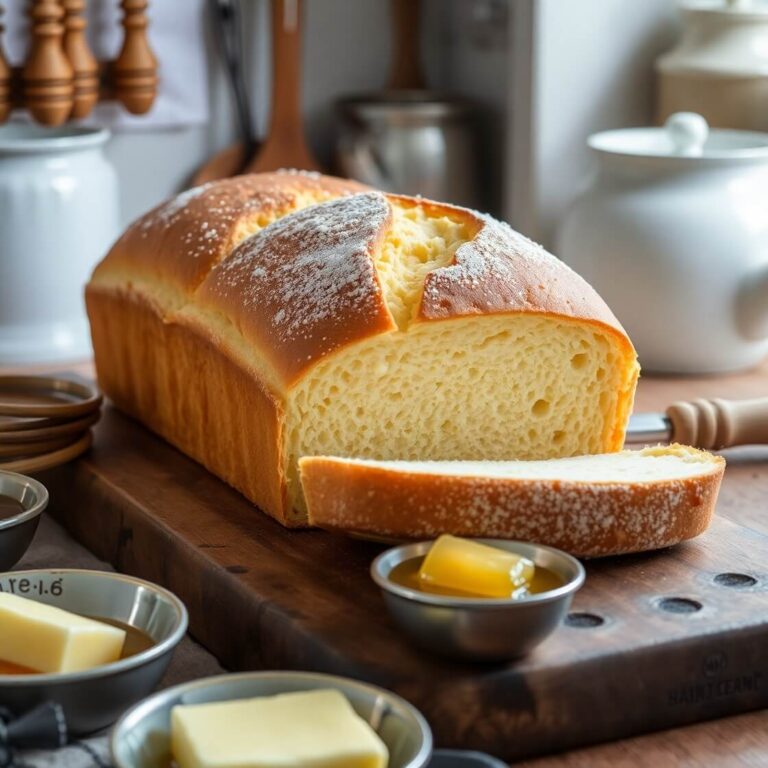
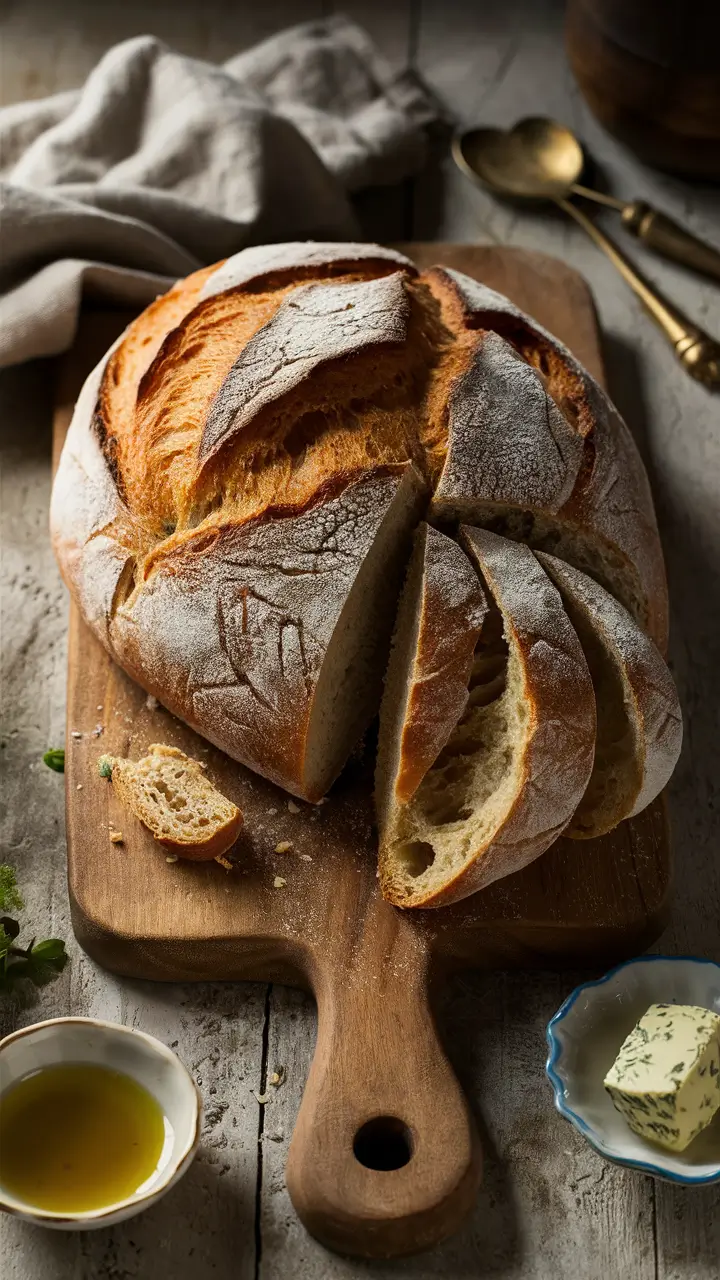
Serving fresh French bread is almost an art form in itself. The moment you bring a warm loaf to the table, the anticipation builds. To elevate the experience, slice the bread diagonally into thick or thin pieces depending on your preference. This not only makes it easier to tear and enjoy but also shows off the beautiful airy crumb inside.
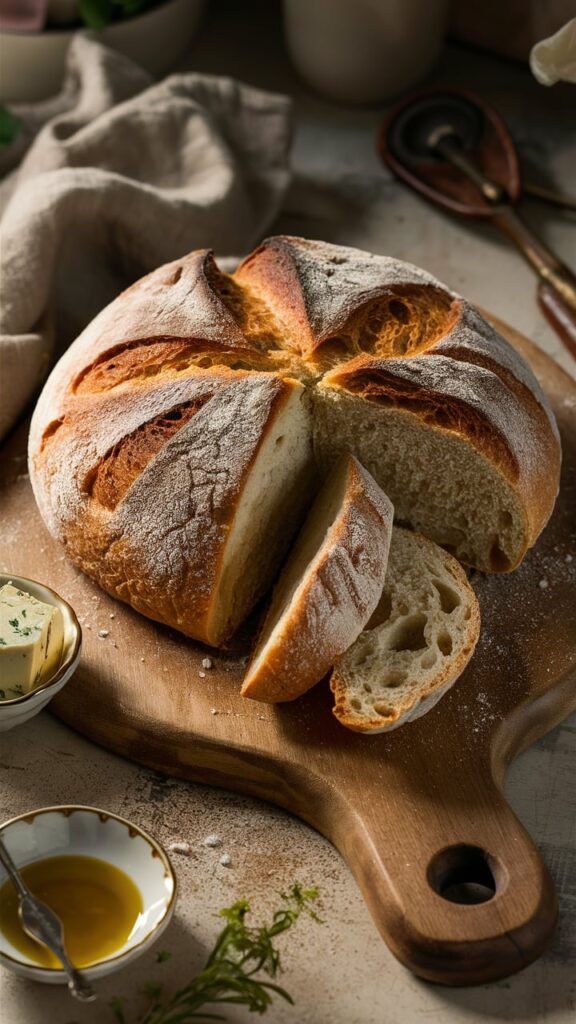
For presentation, consider placing the bread on a rustic wooden cutting board or a linen-lined basket to keep it cozy and inviting. A light dusting of flour on top or around the serving area adds a charming, bakery-fresh look. Serve with small dishes of quality olive oil, balsamic vinegar, or flavored butters for dipping.
If you’re serving the bread alongside soups or cheeses, arrange those components attractively around the bread, making it a centerpiece that invites everyone to dig in.
Tips and Tricks to Make This Recipe Even Better
Perfecting French bread takes some patience and practice, but these tips will help you speed up the learning curve:
- Use a digital kitchen thermometer: Ensuring your water temperature is just right (around 110°F) activates yeast perfectly without killing it.
- Don’t rush the rise: Yeast works best when given time. If your kitchen is cold, try placing the dough inside a turned-off oven with the light on, or near a warm spot.
- Create steam in the oven: This is key to that signature crispy crust. If you don’t have a pan for water, spray the oven walls with water right after placing the dough inside.
- Score with a sharp blade: Use a razor or very sharp knife for clean cuts. This allows the bread to expand and prevents tearing.
- Cool completely before slicing: Though tempting, cutting hot bread can squash the crumb and make it gummy.
- Experiment with flour blends: Adding a bit of whole wheat or rye flour adds flavor depth, but keep most of it all-purpose or bread flour for structure.
Following these tips consistently will elevate your French bread from good to bakery-level excellence.
Common Mistakes to Avoid
Bread baking is rewarding but easy to misstep if you’re not careful. Here are pitfalls to watch for:
- Water temperature too hot or cold: Too hot kills yeast; too cold slows it down dramatically. Always test with a thermometer or your wrist.
- Not kneading enough: Insufficient kneading means poor gluten development, leading to dense, crumbly bread.
- Adding too much flour: Dough should be slightly sticky but manageable. Over-flouring results in heavy loaves.
- Skipping the steam: Without steam, the crust won’t get that characteristic crunch and shine.
- Rushing the rise: Patience is key; under-proofed dough won’t rise properly and can bake dense.
- Cutting bread too soon: Let the loaf cool fully to set the crumb structure.
Avoid these common errors to achieve the best possible loaf every time.
How to Store French Bread
Fresh French bread is best eaten the day it’s baked, but sometimes you want to save leftovers.
- For short-term storage (1-2 days), wrap the bread loosely in a clean kitchen towel or paper bag at room temperature. This keeps the crust from becoming too soft.
- For longer storage, slice the bread and freeze it in an airtight bag. You can then toast or warm slices directly from frozen.
- Avoid plastic wrap at room temperature—it traps moisture and makes the crust soggy.
If you want to refresh slightly stale bread, sprinkle a little water on the crust and heat it in a preheated oven at 350°F for 5-10 minutes.
Frequently Asked Questions About French Bread
Can I use instant yeast instead of active dry yeast?
Yes, you can. Use slightly less (about 2 teaspoons) and add it directly to the flour without proofing in water first.
How do I get the crust really crispy?
Steam is essential. Use a pan of hot water in the oven or spray water inside the oven after putting the bread in.
Can I make French bread without a stand mixer?
Absolutely. Hand kneading works perfectly—just takes a bit more elbow grease.
Why is my bread dense and heavy?
Most likely under-kneaded dough or not enough rising time. Make sure your dough doubles in size during proofing.
How long does French bread stay fresh?
Best within 1-2 days at room temperature. For longer storage, freeze the bread.
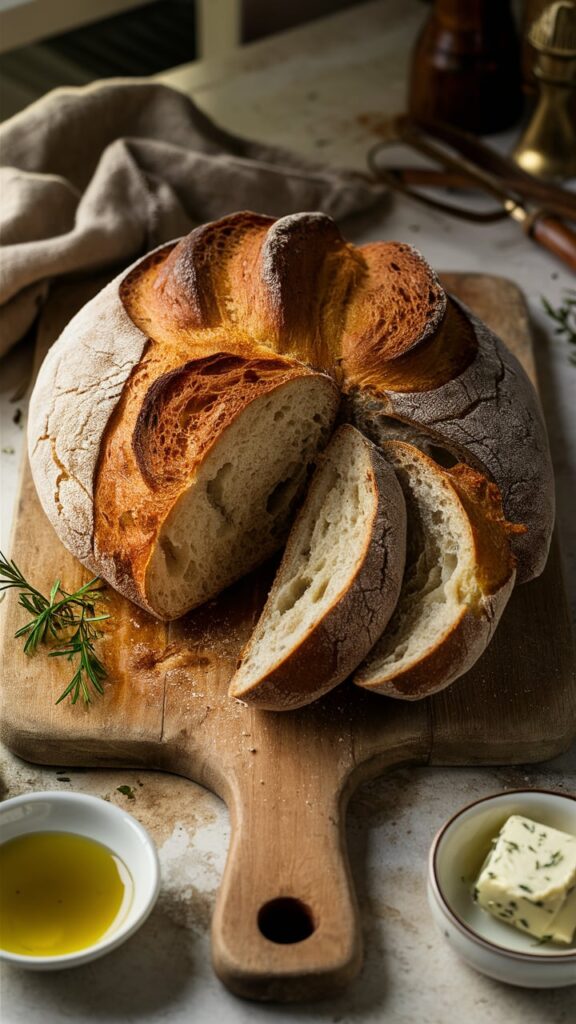
French Bread Recipe
A classic French bread loaf with a crisp golden crust and a light, airy interior. This recipe offers the perfect balance of tradition and simplicity, making it ideal for bakers of all skill levels. With minimal ingredients and a few hours of patient rising, you can bring the authentic taste of a French boulangerie into your own kitchen.
- Prep Time: 20 minutes
- Cook Time: 30 minutes
- Total Time: 3 to 4 hours
- Yield: 2 loaves 1x
- Category: Baking, Bread
- Method: Oven Baking
- Cuisine: French
- Diet: Vegetarian
Ingredients
-
3 ½ cups all-purpose flour (more for kneading)
-
1 ¼ cups warm water (110°F)
-
2 ¼ teaspoons active dry yeast
-
1 tablespoon sugar
-
1 ½ teaspoons salt
-
1 tablespoon olive oil (optional)
Instructions
-
Proof yeast by mixing with warm water and sugar; let it foam.
-
Combine flour, salt, and yeast mixture to form a sticky dough.
-
Knead dough on a floured surface for 8-10 minutes until smooth and elastic.
-
Place dough in an oiled bowl, cover, and let rise until doubled (1.5-2 hours).
-
Punch down dough, divide, shape into loaves, and place on baking sheet.
-
Make shallow slashes on top, cover, and proof for 30-40 minutes.
-
Preheat oven to 425°F with a pan of water for steam.
-
Bake loaves for 25-30 minutes until golden and hollow-sounding.
-
Cool completely on a rack before slicing.
Notes
-
Ensure the water temperature is just right to activate the yeast.
-
Create steam in the oven for a crispy crust.
-
Allow full cooling to set the crumb structure.
Nutrition
- Serving Size: 2 loaves
- Calories: 180